Farmhouse Dish Set: Easy Crochet Pattern for Beginners
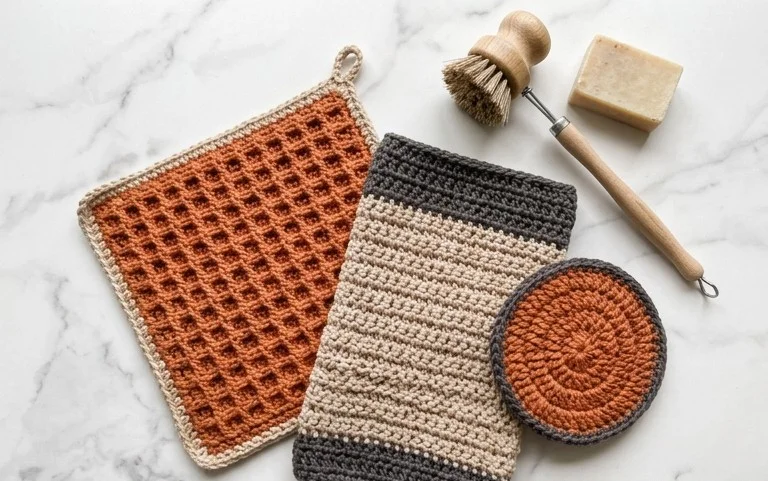
A rough, nubby cotton texture sits on the kitchen counter and dries a glass in seconds without leaving a single streak behind. This set provides exactly that functionality through a tight, clean single crochet stitch that holds its shape even after a dozen trips through the laundry cycle. It is a quiet project for a rainy afternoon when you have two hours and a half-skein of spare yarn waiting in your basket. You will master the rhythm of working in continuous rounds to create a durable, heavy-duty fabric that fits perfectly into any rustic home aesthetic. Building this collection allows you to refine your tension while creating a practical item that replaces flimsy store-bought sponges for good.
Why You Will Love This Pattern
This beginner-friendly project works up quickly using only basic crochet techniques, making it an ideal choice for your next weekend afternoon. Because it uses a small amount of worsted weight yarn, you can easily pull from your stash to complete the design without buying new materials. The structural integrity of the single crochet stitches creates a dense fabric that holds its shape well over time. Experienced makers enjoy the meditative, repetitive nature of the rounds, while newer crocheters appreciate the straightforward path from start to finish without complex shaping. You will find that the final result feels substantial in your hands and stands up well to frequent handling.
I finished this project in a single afternoon and the instructions were clear enough that I did not have to second-guess my stitch counts at any point.
— Sarah, casual crafter
Pattern Overview & Skill Level
- Skill Level: Beginner
- Approximate Time: 2 to 3 hours
- Construction: Working in continuous rounds for the base and body
- Finished Dimensions: 4 inches wide by 5 inches tall
Materials & Supplies Needed
- Yarn: Worsted weight (#4) acrylic or cotton blend, approximately 60 yards in your preferred color.
- Hook Size: 5.0 mm (US H-8) crochet hook.
- Notions: Tapestry needle for weaving in ends, a locking stitch marker to track the start of rounds, and polyester fiberfill for stuffing.
- Yarn Substitutions: You may use wool or bamboo blends of the same weight. Be aware that wool may shrink if washed in hot water, and cotton may result in a slightly stiffer, more defined stitch appearance.
Stitch Guide & Abbreviations (US Terms)
- MR = magic ring
- ch = chain
- sc = single crochet
- inc = increase (make 2 sc in the same stitch)
- dec = decrease (insert hook into front loop of next two stitches, yarn over and pull through, yarn over and complete sc)
- sl st = slip stitch
- st/sts = stitch/stitches
Step-by-Step Pattern Instructions
Body
- Rnd 1: Make a magic ring, work 6 sc into the ring. Pull tail tight. (6 sts)
- Rnd 2: Work 2 sc in each st around. (12 sts)
- Rnd 3: 1 sc, inc repeat 6 times around. (18 sts)
- Rnd 4: 2 sc, inc repeat 6 times around. (24 sts)
- Rnd 5: 3 sc, inc repeat 6 times around. (30 sts)
- Rnds 6–12: Sc in each st around. (30 sts)
- Rnd 13: 3 sc, dec repeat 6 times around. (24 sts)
- Rnd 14: 2 sc, dec repeat 6 times around. (18 sts)
At this stage, begin adding the fiberfill. Stuff the piece firmly until it maintains its shape, but ensure you do not stretch the stitches so far that the internal stuffing becomes visible through the gaps.
- Rnd 15: 1 sc, dec repeat 6 times around. (12 sts)
- Rnd 16: Dec 6 times. (6 sts)
Finishing
Cut the yarn leaving a 6-inch tail. Use your tapestry needle to weave the tail through the front loops of the final 6 stitches. Pull the thread to close the gap tightly. Secure the end with a small knot and hide the remaining length inside the body of the piece.
Care & Washing Instructions
- Machine wash your finished item on a gentle cycle in cool water, ideally placed inside a mesh laundry bag.
- Lay the piece flat on a clean towel to air dry, turning it occasionally to ensure even evaporation.
- Gently squeeze or reshape the item while damp if it loses its form during the wash process.
Pro Tips & Common Mistakes to Avoid
Maintain consistent tension throughout the project by keeping your working yarn at a steady, comfortable distance from your hook. Use a locking stitch marker at the first stitch of every round to keep an accurate count, as continuous rounds can make it easy to lose your place. When weaving in your yarn ends, carry them through the interior of the piece for at least two inches to prevent them from slipping out over time. If you choose to adjust the size of the project by adding more increase rounds at the beginning, remember that you will need significantly more yarn for the final body section than this pattern specifies.
Frequently Asked Questions
Can I use a larger hook for this pattern?
Using a larger hook will result in a looser stitch, which may allow the stuffing to show through. If you choose to size up, use a lighter-weight yarn to compensate or be prepared for the item to appear larger and less dense.
Is this project suitable for a complete beginner?
Yes, the pattern uses only single crochet and basic increasing and decreasing techniques. If you know how to make a magic ring and keep track of your rounds, you have all the skills needed to finish this item successfully.
How do I adjust the size of the finished item?
To make the item larger, continue the increase sequence in Rnd 5 by adding an additional round of 4 sc, inc before beginning the even rounds. Note that you must reverse this increase sequence when you start your decrease rounds to ensure the piece closes correctly.
May I sell items I make using this pattern?
You are welcome to sell finished items made from this pattern, provided you credit the designer in your listing. Please do not redistribute or sell the digital pattern text itself.
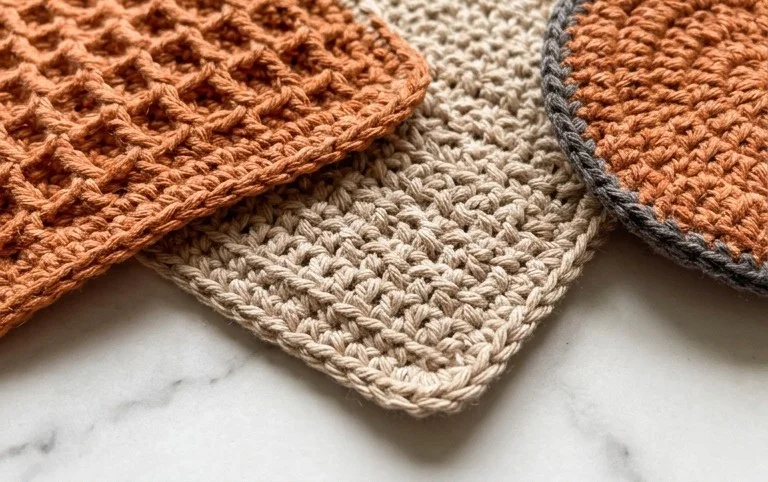
Your new kitchen helpers bring a clean, handmade touch to the sink and hold up beautifully during daily wash cycles. You can swap the cotton yarn for a variegated hemp blend if you want extra scrubbing power or adjust the starting chain to make these in larger sizes for heavy pots. Post a photo of your finished work on social media to show how your color choices look in your own home. Take a look at the rest of the blog for more simple, functional household items you can stitch up in a single evening.