6 Easy Christmas Crochet Patterns: Free Quick Gift Ideas
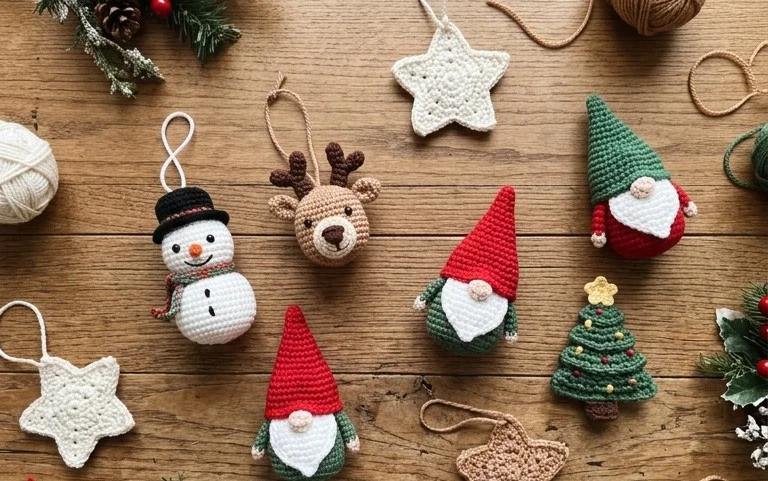
Soft wool creates a gentle weight in your hands during those quiet December evenings when the snow falls outside. These six items bring a handmade warmth to anyone on your holiday list, even when you only have a few hours to spare. You will work with simple single crochet stitches and basic increases, focusing on rhythm rather than complex lace or colorwork. Each project keeps your hands busy while you listen to music or watch the fireplace. You learn how to shape everyday objects like hats and pouches through consistent tension and accurate counting of your foundation rows.
Why You’ll Love This Pattern
The Classic Crochet Bucket Hat relies on simple single crochet stitches worked in the round, making it an ideal project for those looking to practice stitch consistency and tension control. Because it utilizes a worsted-weight yarn, the project works up quickly, usually in just a few hours. This accessory offers a clean, minimalist aesthetic that pairs well with casual daily outfits. It also serves as a practical way to use up partial skeins of yarn left over from larger garment projects, provided you match the fiber content for consistent drape.
I managed to finish this hat over a weekend using some leftover cotton yarn, and the sizing turned out perfectly for my head. The instructions for the increase rounds were very clear, so I never felt lost during the shaping process.
— Sarah, hobbyist crafter
Pattern Overview & Skill Level
- Skill Level: Advanced Beginner
- Approximate Time: 3 to 5 hours
- Construction: Worked in continuous rounds from the top down, starting with a magic ring and moving into a flat circular crown before transitioning to un-increased sides and a flared brim.
- Finished Dimensions: 22 inches in circumference; fits most adult heads.
Materials & Supplies Needed
- Yarn: Worsted weight (#4), 100% cotton, approximately 200 yards. Cotton provides the structure needed for the brim to stay upright.
- Hook Size: 5.0 mm (H-8).
- Notions: Tapestry needle for weaving ends, stitch marker to denote the start of rounds, and a measuring tape.
- Yarn substitutions: Acrylic yarns can be used for a softer, more flexible hat, but the brim may require extra starch or tighter tension to prevent drooping. Avoid heavy wools, as they can cause the hat to lose its shape when worn.
Stitch Guide & Abbreviations (US Terms)
- MR: Magic ring
- ch: Chain
- sc: Single crochet
- inc: Increase (work 2 sc in the same stitch)
- sl st: Slip stitch
- st/sts: Stitch/stitches
- BLO: Back loop only
- sc2tog: Single crochet 2 together (decrease)
Step-by-Step Pattern Instructions
Crown
The crown forms the flat top of the hat. Work in continuous rounds. Place a stitch marker at the start of each round to keep track.
- Rnd 1: Start with MR, 6 sc in ring. (6 sts)
- Rnd 2: Inc in each st around. (12 sts)
- Rnd 3: [Sc, inc] 6 times. (18 sts)
- Rnd 4: [Sc 2, inc] 6 times. (24 sts)
- Rnd 5: [Sc 3, inc] 6 times. (30 sts)
- Rnd 6: [Sc 4, inc] 6 times. (36 sts)
- Rnd 7: [Sc 5, inc] 6 times. (42 sts)
- Rnd 8: [Sc 6, inc] 6 times. (48 sts)
- Rnd 9: [Sc 7, inc] 6 times. (54 sts)
- Rnd 10: [Sc 8, inc] 6 times. (60 sts)
Body
Once the crown reaches the desired diameter, stop increasing to create the side walls.
- Rnd 11: Sc in each st around in BLO. (60 sts)
- Rnds 12–25: Sc in each st around. (60 sts)
Brim
The brim creates the signature downward slope of the bucket hat.
- Rnd 26: [Sc 9, inc] 6 times. (66 sts)
- Rnd 27: Sc in each st around. (66 sts)
- Rnd 28: [Sc 10, inc] 6 times. (72 sts)
- Rnd 29: Sc in each st around. (72 sts)
- Rnd 30: [Sc 11, inc] 6 times. (78 sts)
- Rnd 31: Sc in each st around. (78 sts)
Finish with a sl st into the next stitch to smooth the transition. Fasten off and weave in the yarn tail securely on the inside of the hat.
Care & Washing Instructions
- Hand wash in cool water with a mild detergent to prevent the fibers from stretching or shrinking.
- Lay the hat flat on a clean towel to dry, shaping the brim manually to ensure it remains flat.
- Avoid using a tumble dryer, as heat can break down the structure of cotton yarn and cause the hat to lose its form.
Pro Tips & Common Mistakes to Avoid
- Tension: Keep your tension consistent throughout the body of the hat. If you find your stitches becoming loose, try going down half a hook size.
- Counting: Always use a stitch marker at the first stitch of every round. It is easy to miss a stitch when working in a continuous spiral, which will throw off the count for the brim.
- Weaving ends: Secure your tail by weaving it through the back loops of the previous round at least three times in different directions to ensure it does not unravel with wear.
- Size adjustment: To make the hat larger or smaller, add or remove an increase round in the crown section, keeping in mind that each round adds 6 stitches. Every 6 stitches roughly equals one inch in circumference.
Frequently Asked Questions
Can I use a different yarn weight for this pattern?
Using a different yarn weight will significantly change the finished size. If you use a lighter weight, the hat will be much smaller. For a larger size, you would need to add more increase rounds, which requires recalculating the entire stitch count.
Is this pattern suitable for someone who has only ever made scarves?
Yes, this is a perfect second project. It uses basic single crochet stitches but introduces working in the round, which is a fundamental skill for making hats and bags.
How do I keep my brim from curling up?
If the brim curls, your tension may be too tight during the increase rounds. You can block the hat by pinning the brim flat on a foam mat, misting it with water, and letting it dry completely.
Am I allowed to sell hats made from this pattern?
Please check the individual license terms provided by the designer. Most designers allow the sale of small-batch finished items, but copying or distributing the written pattern itself is generally prohibited.
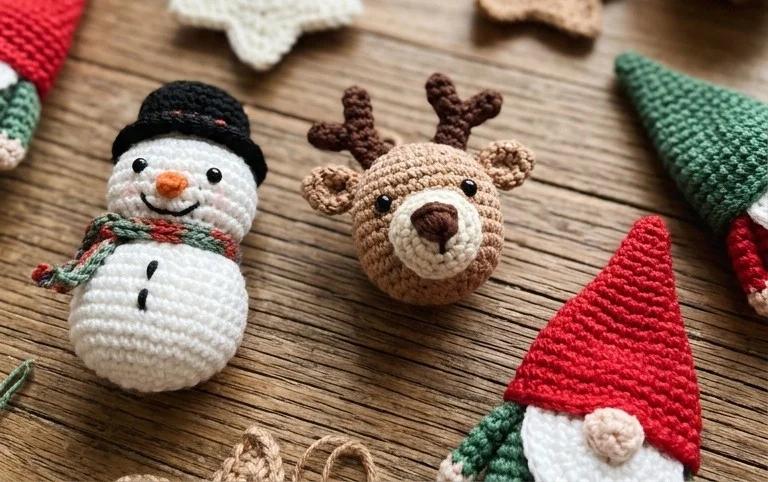
A finished handmade gift carries a weight and warmth that store-bought items simply lack. Try swapping the suggested cotton yarn for a fuzzy alpaca blend if you want an even softer result for a winter scarf or cowl. Sharing a photo of your progress on social media helps others find inspiration for their own holiday crafting goals. You can find more free patterns and seasonal projects on our blog to keep your hooks moving throughout the winter season and into the new year ahead.