Easy Crochet Dishcloth Pattern: Free Beginner Guide
My kitchen sink looks much tidier with a stack of these handmade scrubbers sitting by the faucet. Each square feels dense and squishy in the hand, offering a firm grip that handles stuck-on food without scratching delicate non-stick pans. This project fits busy afternoons perfectly because the repetitive rhythm settles the mind after a long day of chores. Whether you want to build a stash for your own home or assemble a practical gift for a new neighbor, this straightforward pattern ensures consistent results every single time. We will cover the specific cotton fibers and hook sizes that create this reliable, long-lasting kitchen tool.
Why You’ll Love This Pattern
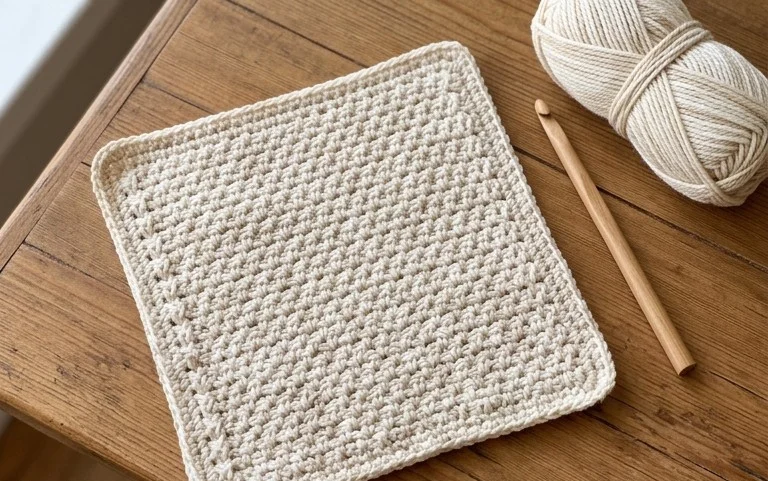
The Classic Crochet Dishcloth is a functional staple that works up quickly using simple, repeating stitches. Because it uses a durable cotton yarn, it holds up well to frequent washing and scrubbing tasks in the kitchen. Beginners appreciate the straightforward rows that allow for consistent tension practice, while experienced crocheters find this an ideal project for mindless, meditative stitching. The texture created by the stitch pattern effectively cleans surfaces without being abrasive.
I finished this dishcloth in one evening while watching a show. The stitches are uniform and the end product feels much sturdier than the ones I buy at the store.
— Sarah, home crafter
Pattern Overview & Skill Level
- Skill Level: Beginner
- Approximate Time: 1 to 2 hours
- Construction: Worked in flat rows starting from a foundation chain
- Finished Dimensions & Sizing: 8 inches by 8 inches square
Materials & Supplies Needed
- Yarn: Worsted weight (#4) 100% cotton yarn, approximately 60 yards. Solid colors show texture best.
- Hook Size: 5.0 mm (H-8) aluminum or ergonomic crochet hook.
- Notions: Tapestry needle for weaving in ends, scissors, and an optional locking stitch marker to track rows.
- Safe yarn substitutions: You may use a cotton-acrylic blend for a softer feel, though it will be slightly less absorbent than 100% cotton. Avoid wool as it will shrink in high-heat kitchen environments.
Stitch Guide & Abbreviations (US Terms)
- ch = chain
- sc = single crochet: insert hook into stitch, yarn over, pull up a loop, yarn over, pull through both loops on hook.
- dc = double crochet: yarn over, insert hook into stitch, yarn over, pull up a loop, yarn over, pull through two loops, yarn over, pull through remaining two loops.
- st/sts = stitch/stitches
- sk = skip
- turn = turn your work to begin the next row
Step-by-Step Pattern Instructions
This pattern uses a repeat of single crochet and double crochet stitches to create a dense, scrubby texture.
- Foundation: Ch 30.
- Row 1: Dc in the 4th ch from the hook and in each ch across. Turn. (28 sts)
- Row 2: Ch 1, sc in the first st, dc in the next st, [sc in the next st, dc in the next st] repeat across until the end of the row. Turn. (28 sts)
- Rows 3-25: Repeat Row 2 until the piece measures approximately 8 inches long.
- Final Row: Ch 1, sc in each st across. Fasten off yarn.
Finishing
Cut the yarn, leaving a 6-inch tail. Pull the tail through the final loop on your hook to secure the knot. Use the tapestry needle to weave the tail back and forth through the base of the stitches on the back side of the work. Trim any excess yarn close to the fabric, being careful not to cut the stitches.
Care & Washing Instructions
- Machine wash in warm water on a gentle cycle to remove kitchen residue.
- Tumble dry on low heat or lay the dishcloth flat on a towel to air dry to prevent edge curling.
- If the cloth becomes misshapen during use, pull firmly on the corners while damp to block it back into a square shape.
Pro Tips & Common Mistakes to Avoid
Achieving a consistent look in your dishcloth comes down to tension management. If your stitches look loose or uneven, try going down one hook size to tighten the fabric density. When counting your stitches, always count the starting chain as a stitch in the first row to ensure your edges remain straight. Use a stitch marker on the first stitch of every row to avoid accidentally dropping stitches at the ends, which is a common error for beginners. If you want a larger dishcloth, simply increase your foundation chain by any even number, which will require roughly 10 extra yards of yarn per two inches of width added.
Frequently Asked Questions
Can I use a synthetic yarn like acrylic for this project?
Synthetic yarns do not absorb water well and may melt if they come into contact with hot pots or pans. Stick to 100% cotton or cotton-linen blends for the best results.
How do I make the dishcloth look perfectly square?
Ensure your stitch count remains identical on every row. If the dishcloth starts to look like a trapezoid, you are likely missing the final stitch of your rows.
Is this pattern suitable for complete beginners?
Yes, this is an excellent first project. It teaches you how to maintain consistent tension and how to recognize the top loops of your stitches.
Am I allowed to sell the dishcloths I make from this pattern?
You are welcome to sell finished items created from this pattern. I only ask that you credit the pattern design to this website when listing your items for sale.
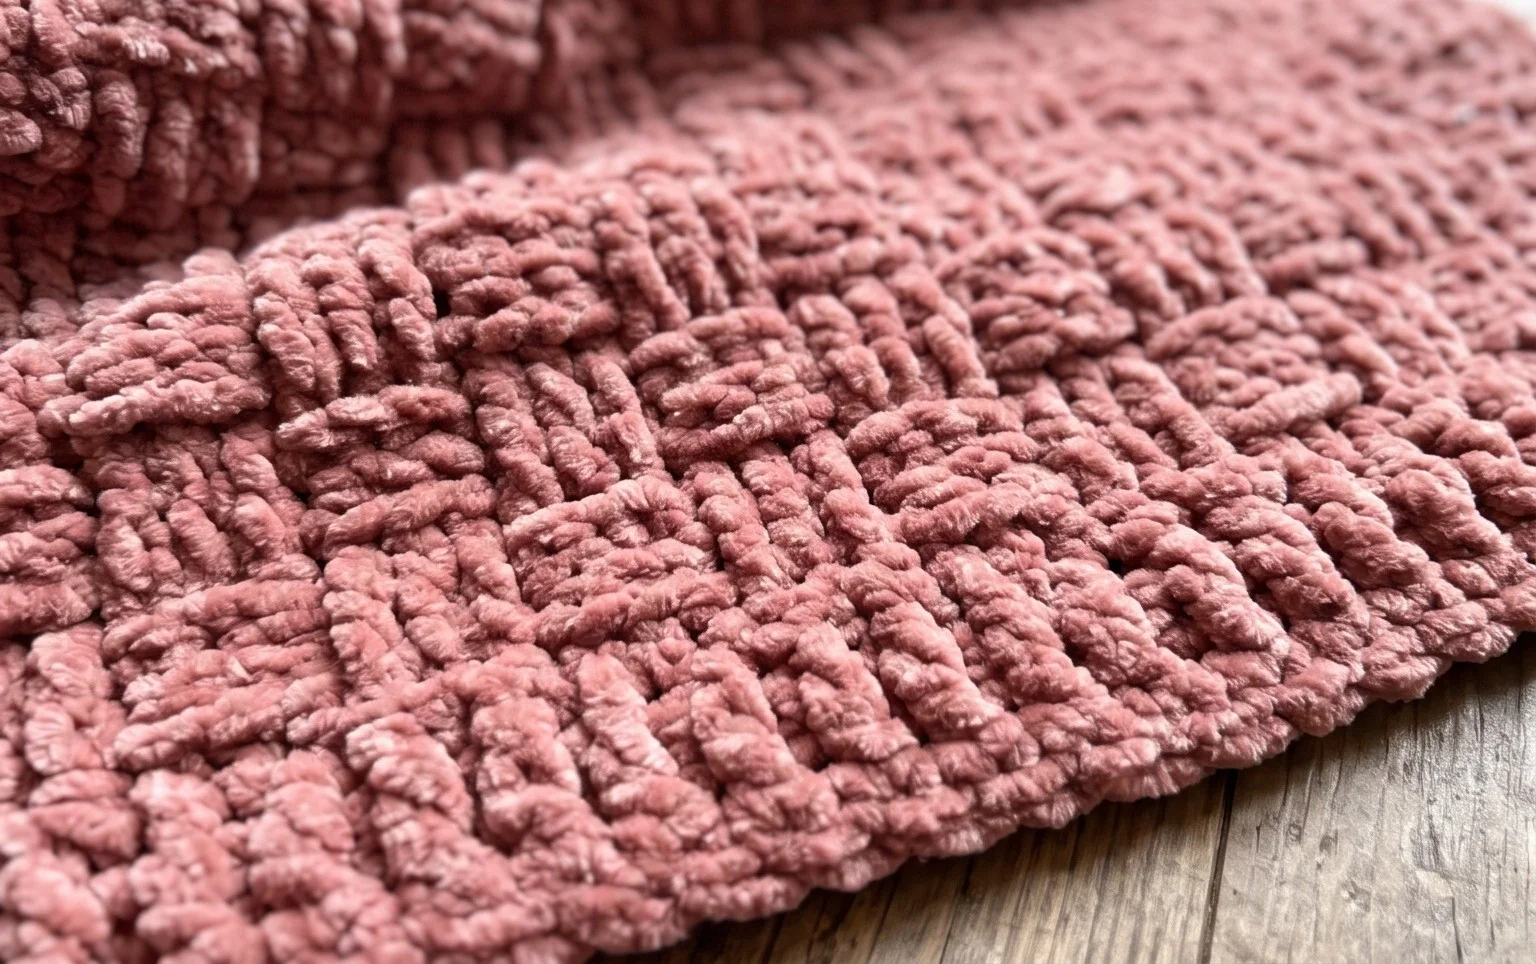
These sturdy little squares brighten up the counter and make daily scrubbing feel less like a chore. You can adjust the dimensions by adding more chains to the foundation if you prefer a larger surface area for drying heavy pots, or try swapping the solid color for a striped design using your leftover scraps. Post a photo of your finished work online so others can see how your color choices turned out. Browse the rest of the blog for more simple, functional household items you can create this weekend.