Free Neutral Beanie Crochet Patterns for Beginners
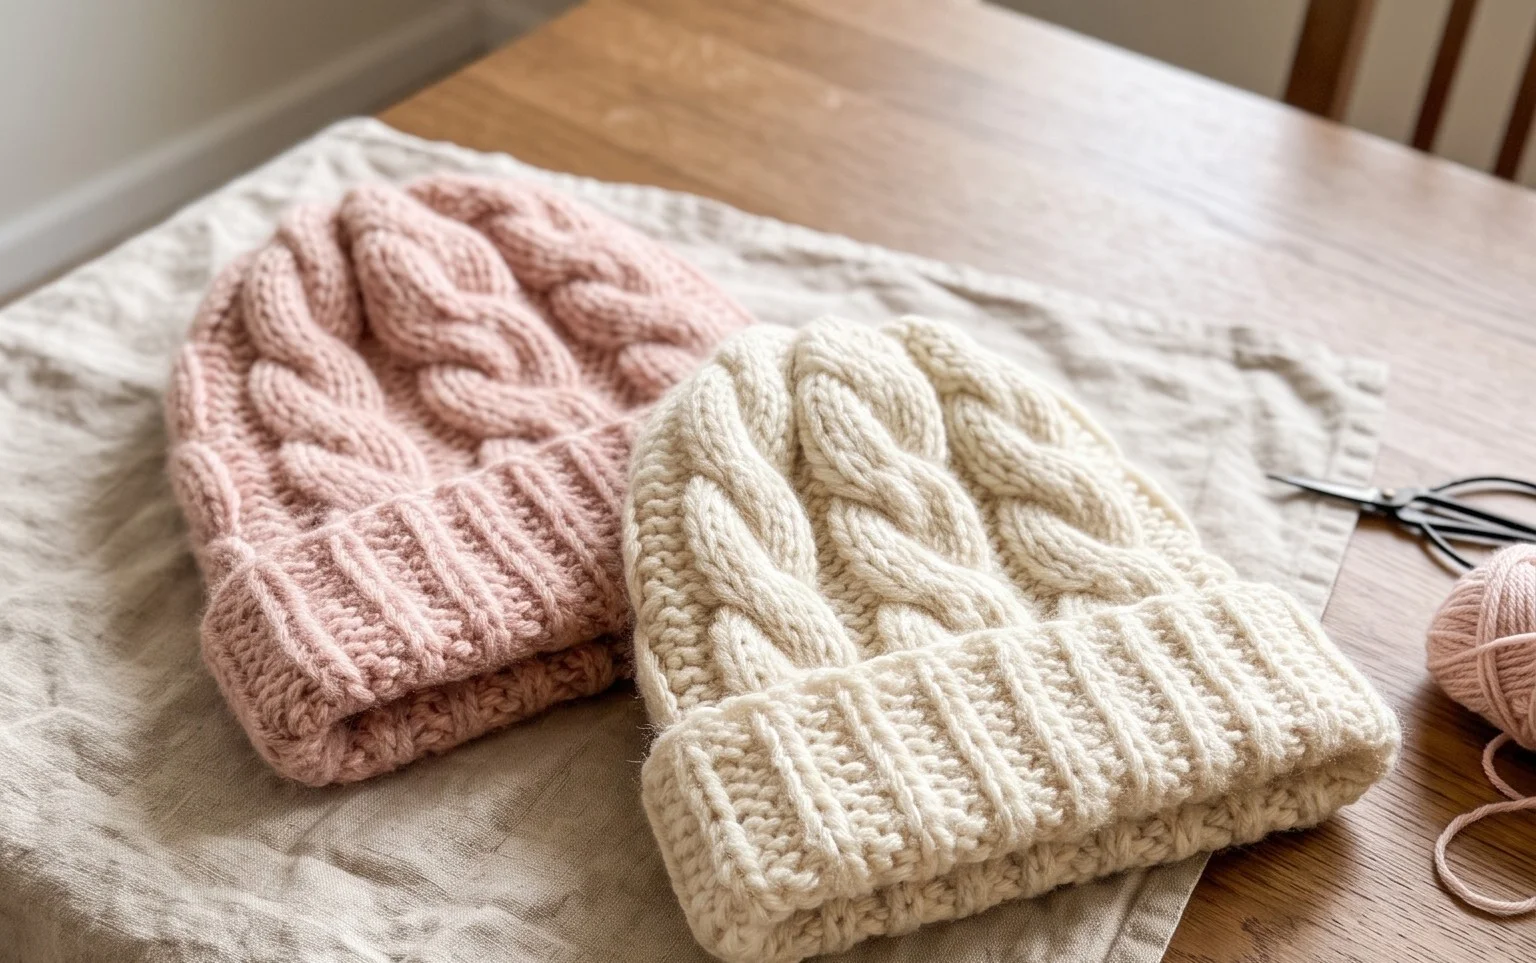
Sand, oatmeal, warm gray, and soft taupe give a crocheted beanie a calm look that pairs easily with a winter coat. The finished fabric can feel soft and cozy, with a stretchy brim that sits comfortably around the ears. These patterns suit beginners building confidence with repeated stitches, as well as gift makers who want a useful handmade present in a color the recipient can wear often. If you enjoy a quiet, coordinated palette at home, choosing shades that echo your favorite blankets or cushions can make the making feel especially satisfying. The designs explore techniques such as working in rounds, shaping the crown, and creating ribbing with simple stitch repeats. You’ll find practical guidance for choosing yarn, checking fit, and adjusting the length, so your finished beanie feels personal rather than generic.
Why You’ll Love This Pattern
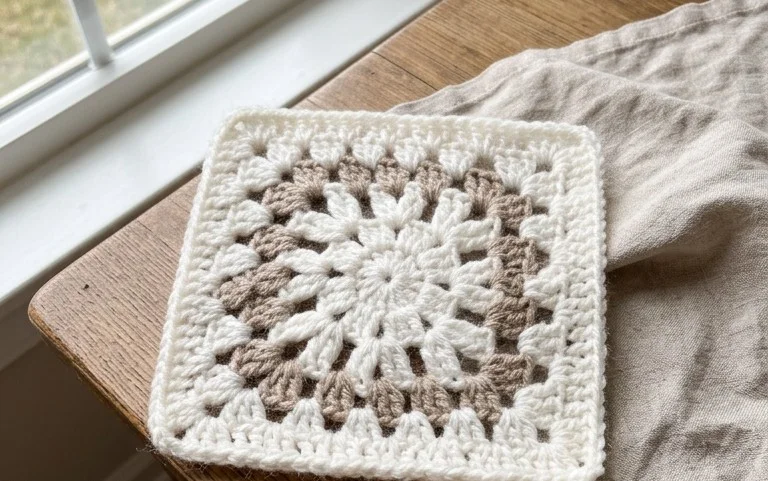
A firm cotton dishcloth is useful at the kitchen sink, and this flat, square design is made with a simple single-crochet fabric. The stitch pattern is easy to memorize, so you can settle into a steady rhythm after the first row. It is a practical project for using a single skein of cotton yarn, and the finished cloth is small enough to complete in an afternoon.
The straight edges make this a good first project for practicing even tension and counting rows. It also works well as a handmade housewarming gift: pair the cloth with a bar of dish soap, or make a small stack in coordinating kitchen colors.
The rows were easy to keep track of, and the cotton feels sturdy without being stiff. I finished mine in an afternoon and have already started another.
— Mara, beginner crocheter
Pattern Overview & Skill Level
- Skill Level: Beginner. You need to know how to chain and single crochet.
- Approximate Time: 2–3 hours, depending on your pace and tension.
- Construction: Crocheted flat in turning rows from the bottom edge to the top edge, then fastened off and woven in.
- Finished Dimensions & Sizing: Approximately 8.3 × 7.1 inches (21 × 18 cm) after washing, using the gauge below. Small differences are normal for a hand-crocheted cloth.
Gauge is 12 single crochet stitches and 14 rows per 4 inches (10 cm), measured in the main fabric after washing and drying. Gauge matters less for a dishcloth than for a fitted garment, but it affects the finished size and the amount of yarn used.
Materials & Supplies Needed
- Yarn: About 75 yards (69 m) of worsted-weight cotton yarn, weight #4. Choose 100% cotton in one color; a cotton blend intended for washing is also suitable.
- Hook Size: 5.0 mm / H-8 crochet hook. If your fabric feels loose and floppy, try a 4.5 mm hook; if it feels hard to work into, try a 5.5 mm hook.
- Notions: Tapestry needle for the yarn tails, scissors, and a measuring tape. A stitch marker is optional for marking the first stitch of a row.
- Substitutions: Use another worsted-weight, washable cotton yarn and check your gauge. A thinner cotton makes a smaller, lighter cloth; a thicker yarn makes a larger, heavier one and may need a larger hook. Avoid ordinary acrylic for a dishcloth because it may not absorb water as well as cotton.
Stitch Guide & Abbreviations (US Terms)
- ch: Chain.
- sc: Single crochet. Insert the hook in the indicated stitch, yarn over and pull up a loop, yarn over again and draw through both loops.
- st / sts: Stitch / stitches.
- rep: Repeat.
- yo: Yarn over.
- turn: Rotate the work to crochet across the next row.
The turning chain does not count as a stitch in this pattern. Work the first single crochet into the first stitch of each row, not into the chain at the edge. This keeps the stitch count at 25 throughout.
Step-by-Step Pattern Instructions
Dishcloth
Setup: Make a slip knot and ch 26. The chain gives you 25 stitches to work across.
Row 1: Sc in the second ch from the hook and in each ch across. Turn. (25 sts)
Rows 2–25: Ch 1, sc in each stitch across, then turn. (25 sts each row)
Count the stitches at the end of Row 2 and again every few rows. A small triangle shape usually means a stitch was missed or added near an edge. If you are unsure, count back to 25 before continuing.
Finishing
After Row 25, fasten off, leaving a tail long enough to weave in comfortably. Thread the tail through the tapestry needle and weave it through several stitches along the edge, changing direction once to help secure it. Weave in the starting tail in the same way, then trim the remaining yarn close to the fabric without cutting the stitches.
Wash and dry the cloth before measuring it, since cotton can change shape slightly during its first wash. If the edges curl, dampen the cloth and lay it flat, gently patting it into a rectangle. Do not stretch the corners sharply; that can make the sides uneven.
Care & Washing Instructions
- Wash cotton in a machine or by hand using warm water, up to about 40°C (104°F), with ordinary laundry detergent.
- Dry flat when possible, or tumble dry on low heat if the yarn label allows it.
- While damp, reshape the cloth into a rectangle and smooth the edges; follow the yarn label if you use a blend or another fiber.
Pro Tips & Common Mistakes to Avoid
- Keep the edges steady: Work the first sc into the first stitch and the final sc into the last stitch on every row. If those edge stitches are skipped, the cloth becomes narrower as you go.
- Count before turning: Check for 25 stitches at the end of a row. If you tend to lose your place, put a marker in the first stitch so the edge stitch is easy to find.
- Weave in tails securely: Use a tapestry needle and run each tail through several stitches on the wrong side. Turn once and weave through a different path, then trim; a short knot alone can loosen in repeated washing.
- Adjust size with care: To make the cloth wider, add chains to the foundation chain, then work one fewer sc than the number of chains. Add or remove rows to change the height. A larger cloth uses more yarn, while a smaller hook changes the fabric density as well as the dimensions.
Frequently Asked Questions
Can I use a different yarn fiber?
Yes, but choose a washable yarn that suits the cloth’s intended use. Cotton is absorbent and holds up well to regular washing. A cotton-linen blend can feel firmer, while a lighter-weight yarn makes a smaller, thinner cloth. Check the yarn label and make a gauge swatch if you need predictable dimensions.
How can I make the dishcloth larger or smaller?
For a wider cloth, change the starting chain and work into every chain except the one nearest the hook. For a taller cloth, work additional rows. The pattern’s stitch count is 25 per row; if you change the width, count the new stitches after Row 1 and keep that same count in every row.
Is this pattern suitable for a first crochet project?
Yes. It uses only chains and single crochet, with no shaping, joining, or special stitches. The main challenge is keeping the first and last stitch of each row visible, so count across regularly until the edges feel familiar.
May I sell dishcloths made from this pattern?
Check the designer’s terms before selling finished items, and follow any conditions they set. If you sell the cloth, describe the fiber accurately and include care information so the buyer knows how to wash it.
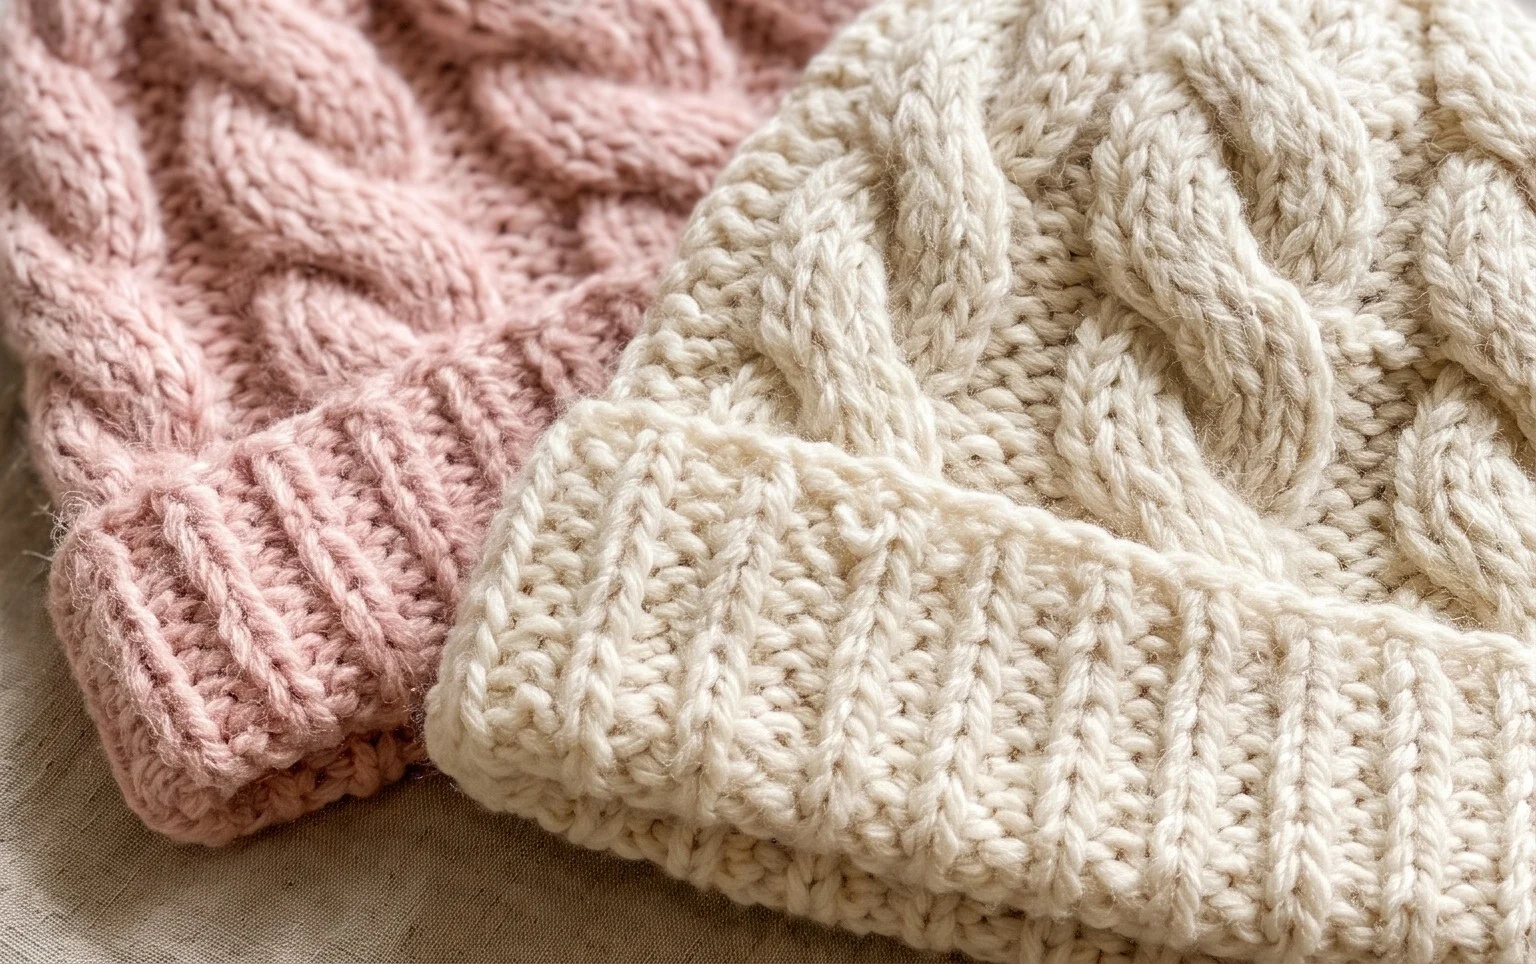
A finished beanie in a soft neutral shade has a relaxed, wearable look, and it feels rewarding to see the crown take shape one round at a time. For a simple variation, work the brim in a contrasting shade of cream or charcoal while keeping the main body oatmeal or taupe. Check the fit as you go, since a small change in brim depth can make the hat sit differently over the ears. If you make one of these patterns, share a photo on Pinterest or your favorite social media platform; seeing the yarn and color choices others make is part of the fun. Then explore more free crochet patterns on the blog for your next quiet evening project or handmade gift.