Easy Crochet Christmas Tree: Beginner Free Pattern
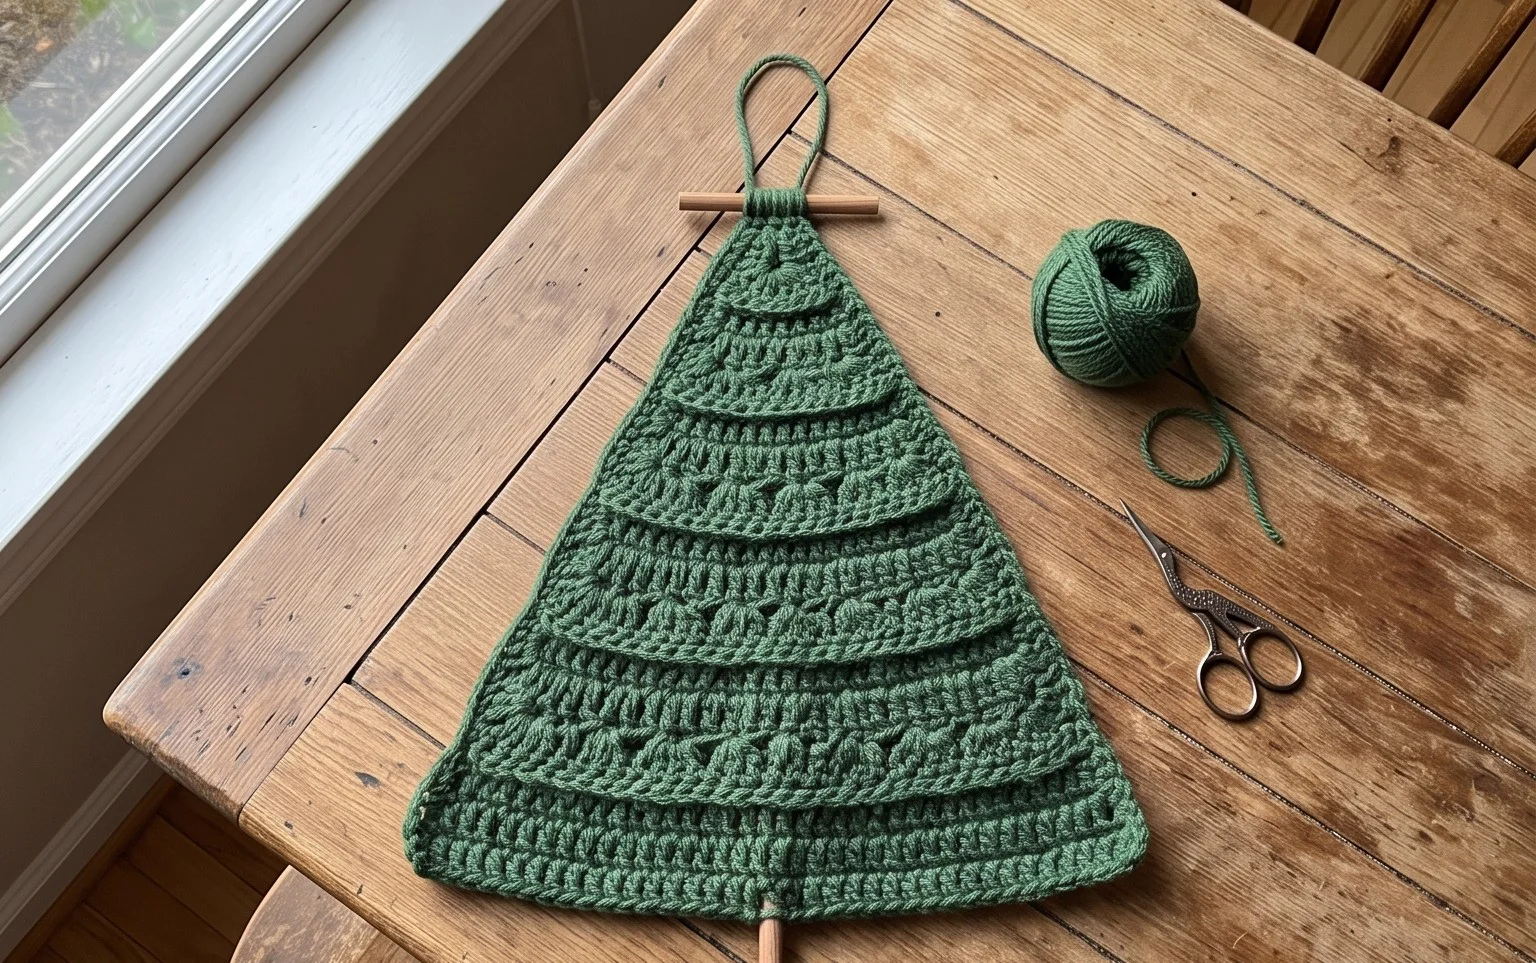
These miniature trees sit firmly on any shelf or mantel, providing a festive touch that feels warm and homemade. The dense, squishy texture comes from working single crochet stitches in continuous rounds, which keeps the shaping simple while giving the final product a professional, clean look. This project is a fantastic choice for anyone clearing out yarn scraps, as you only need a small amount of worsted weight material to finish a complete tree. You will build core skills by practicing how to increase and decrease stitches consistently, creating a tapered shape that requires no complex assembly or sewing at the end. It is a relaxing way to spend an afternoon preparing your home for the upcoming holidays.
Why You Will Love This Pattern
This beginner-friendly project works up quickly using basic single crochet stitches, making it an ideal choice for an evening of stress-free crafting. The compact size of this amigurumi piece means you can complete it using small amounts of leftover scrap yarn from your stash, which helps reduce waste while creating charming decor. Because it relies on simple continuous rounds and basic increases, it is a perfect way to build confidence with 3D shapes without needing complex techniques. The final result is a sturdy, handheld item that holds its shape well even with frequent handling.
I managed to finish this project in just one sitting and it looks exactly like the photos provided in the guide. The instructions were very easy to follow even though I am quite new to amigurumi.
— Sarah, hobbyist crocheter
Pattern Overview & Skill Level
- Skill Level: Beginner
- Approximate Time: 1 to 2 hours
- Construction: Worked in continuous rounds using a magic ring, increasing to create a base, followed by even rounds and decreases for the top, finished with simple assembly.
- Finished Dimensions: Approximately 3 inches tall and 2.5 inches wide.
Materials & Supplies Needed
- Yarn: Worsted weight #4 cotton or acrylic yarn, approximately 30 yards in your chosen color.
- Hook Size: 3.5 mm / E-4.
- Notions: Polyester fiberfill for stuffing, a yarn needle for weaving ends, stitch markers to track the start of rounds, and a pair of scissors.
- Yarn Substitutions: You may use DK weight yarn with a 3.0 mm hook for a slightly smaller, tighter result, or light worsted wool, though wool will require hand-washing rather than machine-washing.
Stitch Guide & Abbreviations (US Terms)
- MR: Magic Ring. A method of starting a round by crocheting into an adjustable loop.
- ch: Chain.
- sc: Single crochet. Insert hook into stitch, yarn over, pull up loop, yarn over, pull through both loops.
- inc: Increase. Work 2 sc into the same stitch to increase the count by one.
- dec: Decrease. Work 2 sc together using the front loops only to reduce the stitch count by one.
- sl st: Slip stitch. Insert hook, yarn over, pull through stitch and loop on hook.
- st/sts: Stitch/stitches.
Step-by-Step Pattern Instructions
Main Body
- Rnd 1: Work 6 sc into a magic ring. (6 sts)
- Rnd 2: Work 2 sc in each st around. (12 sts)
- Rnd 3: (1 sc, inc) repeat 6 times. (18 sts)
- Rnd 4: (2 sc, inc) repeat 6 times. (24 sts)
- Rnd 5: Work in back loops only (BLO) for this round, 1 sc in each st around. (24 sts)
- Rnd 6 – 10: Work 1 sc in each st around. (24 sts)
- Rnd 11: (2 sc, dec) repeat 6 times. (18 sts)
At this point, begin adding fiberfill stuffing. Ensure you pack it firmly to maintain the shape but avoid overstuffing, which might cause the stitches to stretch and show the filling.
- Rnd 12: (1 sc, dec) repeat 6 times. (12 sts)
- Rnd 13: Dec 6 times. (6 sts)
Finishing
Cut the yarn leaving a 6-inch tail. Thread the tail onto your yarn needle and weave it through the front loops of the remaining 6 stitches. Pull tight to close the opening securely. Secure the yarn with a knot and bury the remaining end inside the body using your needle.
Care & Washing Instructions
- Hand wash in cool water using a gentle detergent specifically formulated for knit and crochet items.
- Lay the piece flat on a clean towel to air dry, reshaping it with your hands if necessary.
- Avoid using a tumble dryer, as high heat can melt synthetic fibers or cause natural fibers to shrink or lose their structural integrity.
Pro Tips & Common Mistakes to Avoid
- Tension: Keep your yarn tension slightly tighter than you would for a blanket or garment to ensure that the fiberfill does not poke through the gaps between stitches.
- Counting: Always place a stitch marker in the first stitch of every round. Continuous rounds can make it difficult to identify the end of a row, and a marker prevents counting errors.
- Weaving ends: To hide your ends invisibly, feed the yarn needle through the interior of the piece rather than across the exterior surface, pulling slightly so the knot pulls inside the stuffing.
- Size adjustments: If you want a larger piece, use a thicker yarn (like bulky #5) and a larger hook (5.0 mm), though note that this will increase the total yardage required by approximately 30 percent.
Frequently Asked Questions
Can I substitute the cotton yarn with wool?
Yes, wool works well for this pattern, though it will result in a softer finish. Keep in mind that wool tends to stretch more than cotton, so keep your tension firm while working the stitches.
Is this project suitable for absolute beginners?
This is an excellent first project for beginners because it uses only the single crochet stitch and teaches basic shaping techniques like increasing and decreasing in a small, manageable format.
How do I adjust the size of this item?
To make the item larger, use a heavier weight yarn and the corresponding hook size. If you wish to make it smaller, use a thinner thread or yarn with a smaller hook.
May I sell the items I create from this pattern?
You are welcome to sell the finished handmade items produced from this design. Please credit the original pattern design when listing your products online.
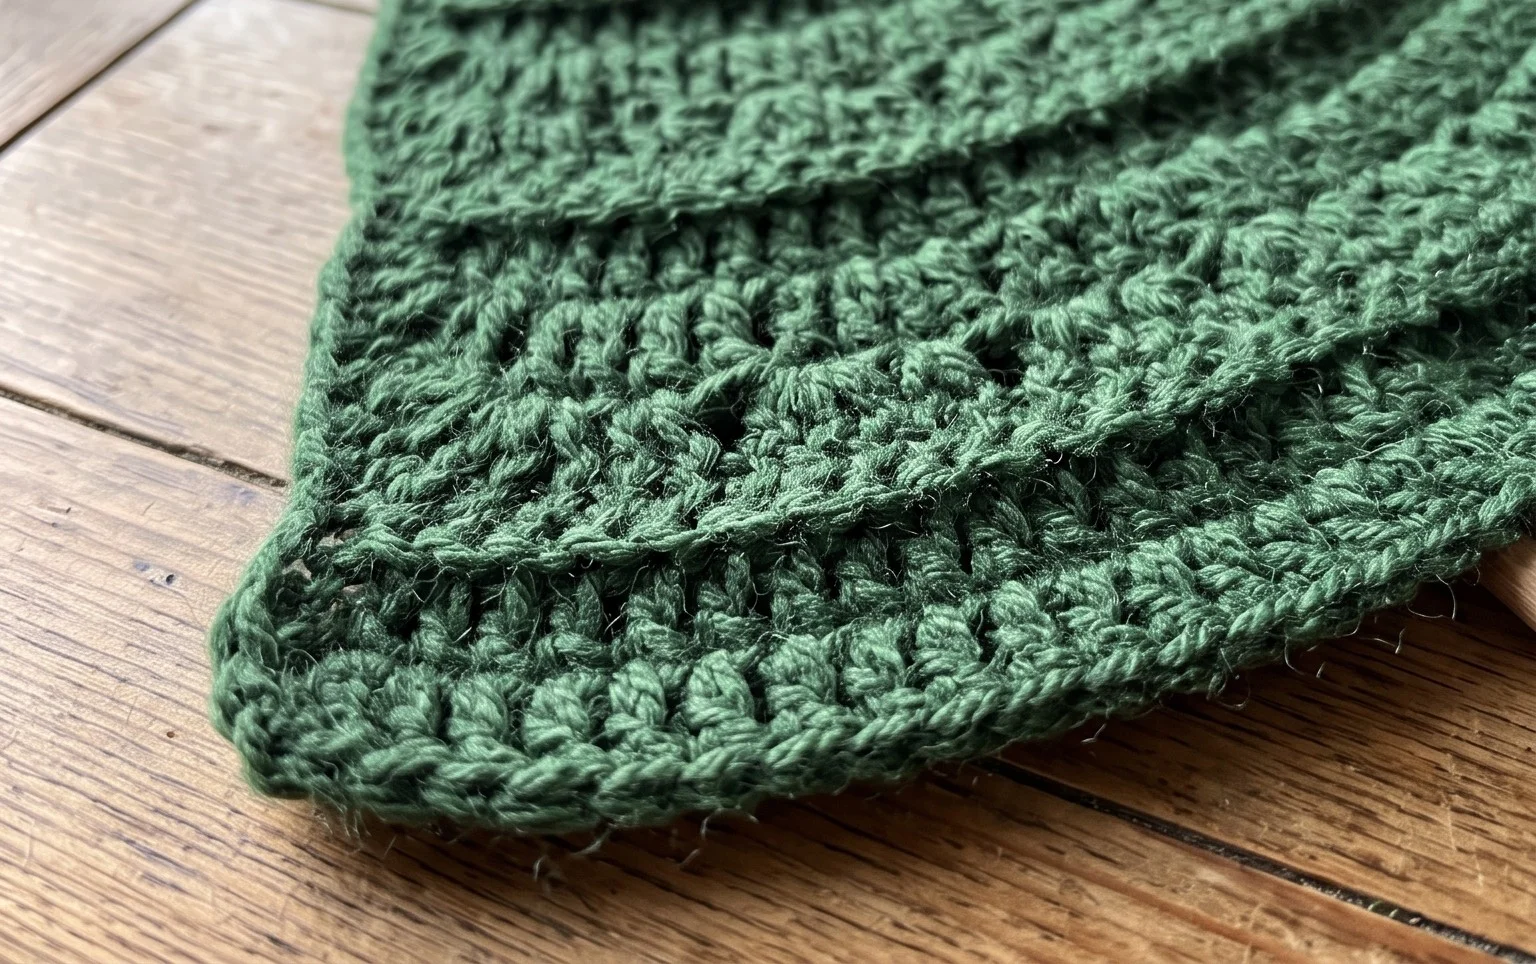
Displaying these handmade trees brings a sense of accomplishment to your holiday decor that mass-produced items simply cannot match. You might experiment with variegated green yarns or add a touch of metallic thread to the top for a bit of extra shimmer on your mantle. Please share a photo of your finished work on your favorite social media site so other makers can see your color choices. Browse the rest of the site for more free seasonal patterns to keep your hands busy throughout the cold winter months ahead.