Easy Beginner Crochet Wrist Warmers Free Pattern Guide
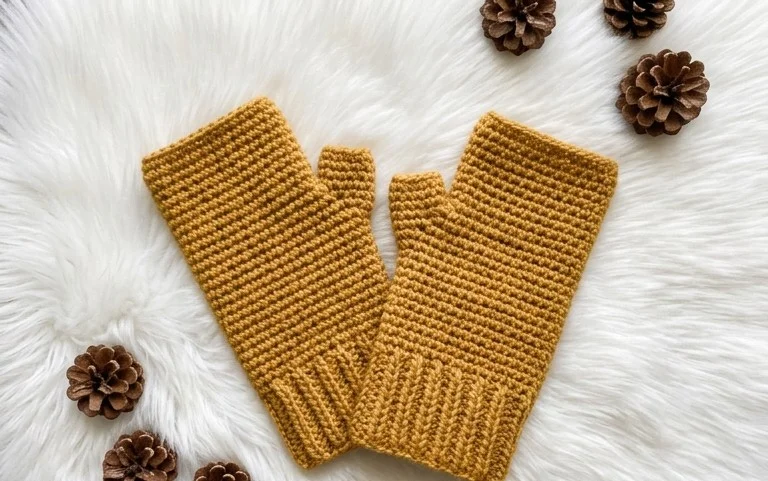
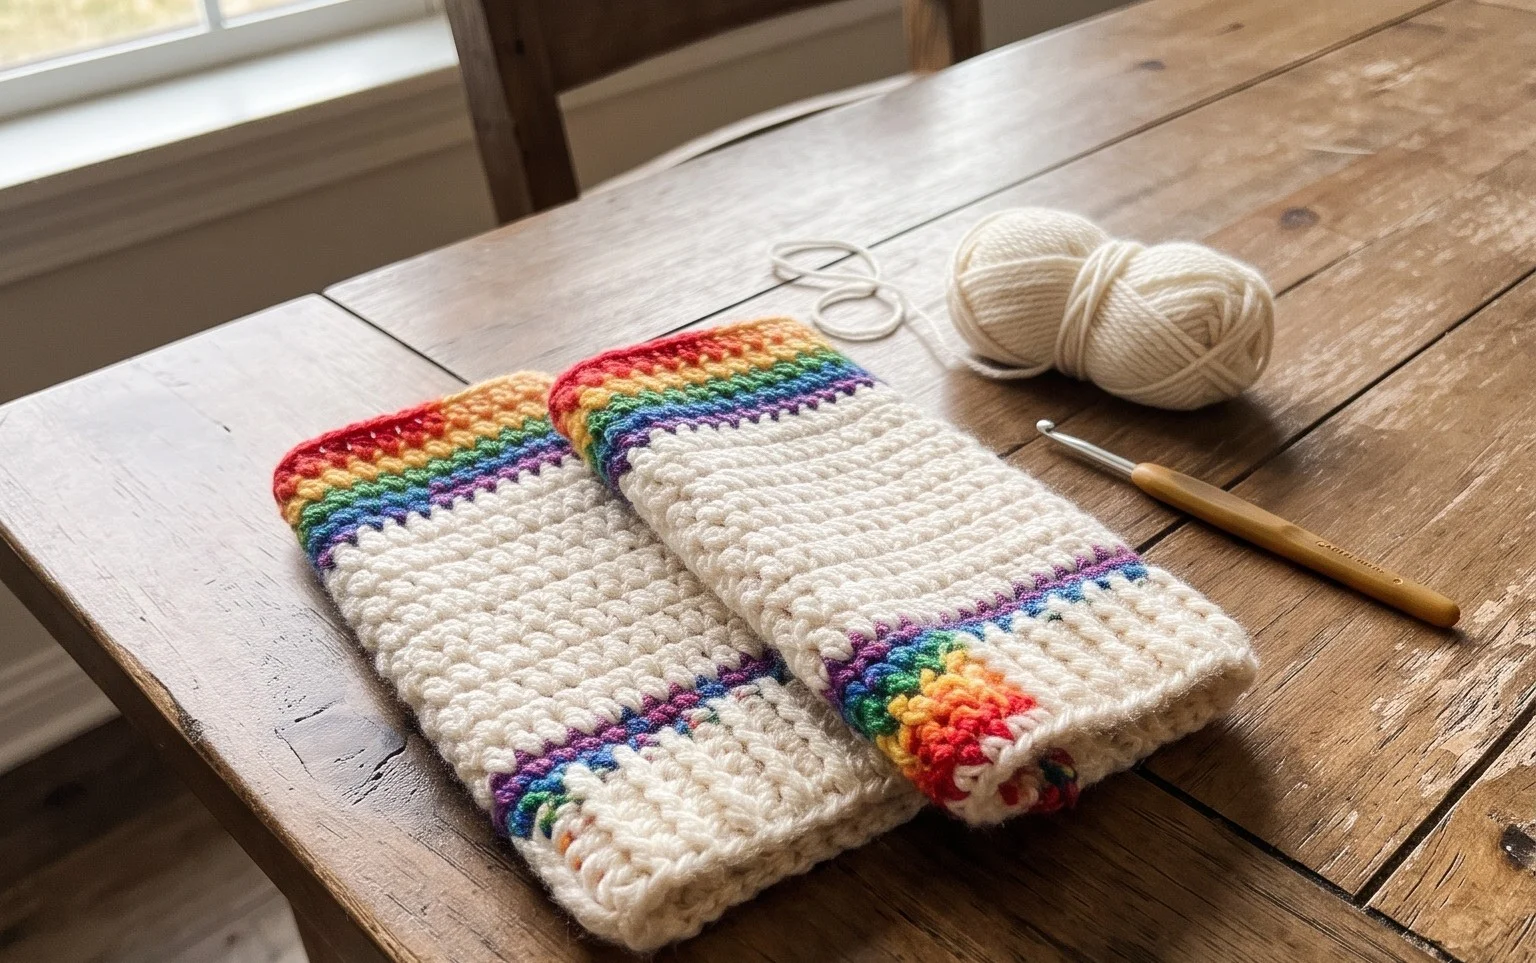
Soft yarn worked into close, ribbed rows gives these wrist warmers a snug feel while leaving your fingers free for typing, crafting, or carrying a warm mug. They are a useful first wearable project for beginners who want practice keeping even rows and making a neat seam, and the finished pair also makes a thoughtful handmade gift. The simple shape is satisfying to watch grow, with the raised texture giving plain yarn plenty of character. In this pattern, you’ll learn how the ribbing is made and how to join the piece while leaving room for your thumb. Choose a calm neutral for everyday wear or a bright shade that stands out beneath coat sleeves.
Why You’ll Love This Pattern
A firm cotton fabric and simple single crochet rows make this washcloth useful for everyday washing, wiping counters, or keeping beside the sink. Alternating regular and back-loop rows adds a subtle ribbed texture without changing the stitch count or requiring a special technique.
The small size makes it a practical project for learning to keep straight edges and count rows. One cloth takes about an hour, and a partial skein is usually enough. Cotton is absorbent and can be washed often, so a finished cloth also makes a useful handmade gift.
The rows were easy to count, and the back-loop ridges gave my first washcloth a nice texture.
— Lena, sample maker review
Pattern Overview & Skill Level
- Skill Level: Beginner. You need to chain, single crochet, and turn your work.
- Approximate Time: About 60–90 minutes, depending on your pace and experience.
- Construction: A flat rectangle worked in rows. Alternate regular single crochet rows with rows worked through the back loop only. There is no seam or separate border.
- Finished Dimensions & Sizing: Approximately 8 × 7.5 inches (20 × 19 cm) after washing and drying flat, using the gauge below.
- Gauge: 15 single crochet stitches and 16 rows measure 4 inches (10 cm) with the recommended hook. Gauge affects the finished dimensions, so make a small swatch if an exact size matters.
Materials & Supplies Needed
- Yarn: About 75 yards (69 m) of worsted-weight #4, 100% cotton yarn in one color. A solid or lightly textured yarn makes the raised rows easy to see.
- Hook Size: 5.0 mm / H-8 crochet hook. If your fabric feels stiff, try a 5.5 mm / I-9 hook; if it feels loose and floppy, try a 4.5 mm / G-6 hook.
- Notions: Tapestry needle for weaving in the beginning and ending tails, scissors, and a ruler or tape measure for checking gauge.
- Safe substitutions: A different worsted-weight cotton yarn is suitable. A cotton-linen blend can also work, though it may feel firmer. Acrylic is less absorbent and may not be as useful for a washcloth. Changing yarn weight or hook size changes the cloth’s dimensions and may change how much yarn you need.
Stitch Guide & Abbreviations (US Terms)
- ch: Chain. Yarn over and pull through the loop on the hook.
- sc: Single crochet. Insert the hook in the indicated stitch, yarn over and pull up a loop, yarn over and pull through both loops on the hook.
- BLO: Back loop only. Work the stitch under the back loop of the stitch, leaving the front loop unworked. This makes a raised horizontal ridge.
- st / sts: Stitch / stitches.
The turning chain at the beginning of each row does not count as a stitch. Work the first stitch of each row into the first actual stitch, not into the turning chain.
Step-by-Step Pattern Instructions
Chain 31 loosely. This foundation chain gives you 30 stitches to work across. If your starting chain is tight, use a hook one size larger to make it, then return to the recommended hook for the first row.
- Row 1: Sc in the second ch from the hook and in each ch across. Turn. (30 sts)
- Row 2: Ch 1, sc in each st across. Turn. (30 sts)
- Row 3: Ch 1, sc in BLO of each st across. Turn. (30 sts)
- Row 4: Ch 1, sc in each st across. Turn. (30 sts)
- Row 5: Ch 1, sc in BLO of each st across. Turn. (30 sts)
- Row 6: Ch 1, sc in each st across. Turn. (30 sts)
- Row 7: Ch 1, sc in BLO of each st across. Turn. (30 sts)
- Row 8: Ch 1, sc in each st across. Turn. (30 sts)
- Row 9: Ch 1, sc in BLO of each st across. Turn. (30 sts)
- Row 10: Ch 1, sc in each st across. Turn. (30 sts)
- Row 11: Ch 1, sc in BLO of each st across. Turn. (30 sts)
- Row 12: Ch 1, sc in each st across. Turn. (30 sts)
- Row 13: Ch 1, sc in BLO of each st across. Turn. (30 sts)
- Row 14: Ch 1, sc in each st across. Turn. (30 sts)
- Row 15: Ch 1, sc in BLO of each st across. Turn. (30 sts)
- Row 16: Ch 1, sc in each st across. Turn. (30 sts)
- Row 17: Ch 1, sc in BLO of each st across. Turn. (30 sts)
- Row 18: Ch 1, sc in each st across. Turn. (30 sts)
- Row 19: Ch 1, sc in BLO of each st across. Turn. (30 sts)
- Row 20: Ch 1, sc in each st across. Turn. (30 sts)
- Row 21: Ch 1, sc in BLO of each st across. Turn. (30 sts)
- Row 22: Ch 1, sc in each st across. Turn. (30 sts)
- Row 23: Ch 1, sc in BLO of each st across. Turn. (30 sts)
- Row 24: Ch 1, sc in each st across. Turn. (30 sts)
- Row 25: Ch 1, sc in BLO of each st across. Turn. (30 sts)
- Row 26: Ch 1, sc in each st across. Turn. (30 sts)
- Row 27: Ch 1, sc in BLO of each st across. Turn. (30 sts)
- Row 28: Ch 1, sc in each st across. Turn. (30 sts)
- Row 29: Ch 1, sc in BLO of each st across. Turn. (30 sts)
- Row 30: Ch 1, sc in each st across. Fasten off, leaving a tail long enough to weave in. (30 sts)
Use the tapestry needle to weave both yarn tails securely through several stitches on the wrong side, then trim the excess. Check that the edges lie flat before washing. No joining or seaming is needed.
Care & Washing Instructions
- Wash cotton in cool or warm water, up to 40°C (104°F), with similar colors; follow the yarn label if it gives a lower temperature.
- Dry flat or tumble dry on low if the yarn label allows it; high heat can cause cotton to shrink.
- While damp, gently reshape the corners and edges, then leave the cloth flat to finish drying.
Pro Tips & Common Mistakes to Avoid
- Keep your tension even, especially along the starting chain. A tight foundation can pull in the bottom edge, so loosen your chain or make it with a larger hook.
- Count 30 stitches at the end of every row. The turning chain does not count; accidentally crocheting into it can add stitches and make the cloth wider.
- Weave the yarn tails through the backs of several stitches in more than one direction. A short tail tucked through only one stitch may come loose with repeated washing.
- For a larger cloth, add chains in multiples of one stitch and work more rows; each extra stitch widens the fabric, and each added row uses more yarn. Check dimensions as you go rather than relying only on row count.
Frequently Asked Questions
Can I use a different cotton yarn?
Yes. Choose a similar worsted-weight cotton and check its yarn label for hook guidance. A thicker yarn makes a larger, heavier cloth, while a finer yarn makes a smaller one and may need a smaller hook.
How can I make the washcloth smaller or larger?
To change the width, adjust the starting chain; each additional chain adds one stitch. To change the height, work fewer or more rows. Both changes affect yarn use, and a different hook or yarn weight also changes the final dimensions.
Is this pattern suitable for a first crochet project?
Yes, if you are comfortable making a chain and single crochet. The straight rows make it easier to practise even edges. Count each row carefully, and check that you still have 30 stitches before turning.
May I sell washcloths made from this pattern?
Check the designer’s terms before selling finished items, and follow any credit or sales conditions they set. This pattern text does not establish permission to sell work made from another designer’s instructions.
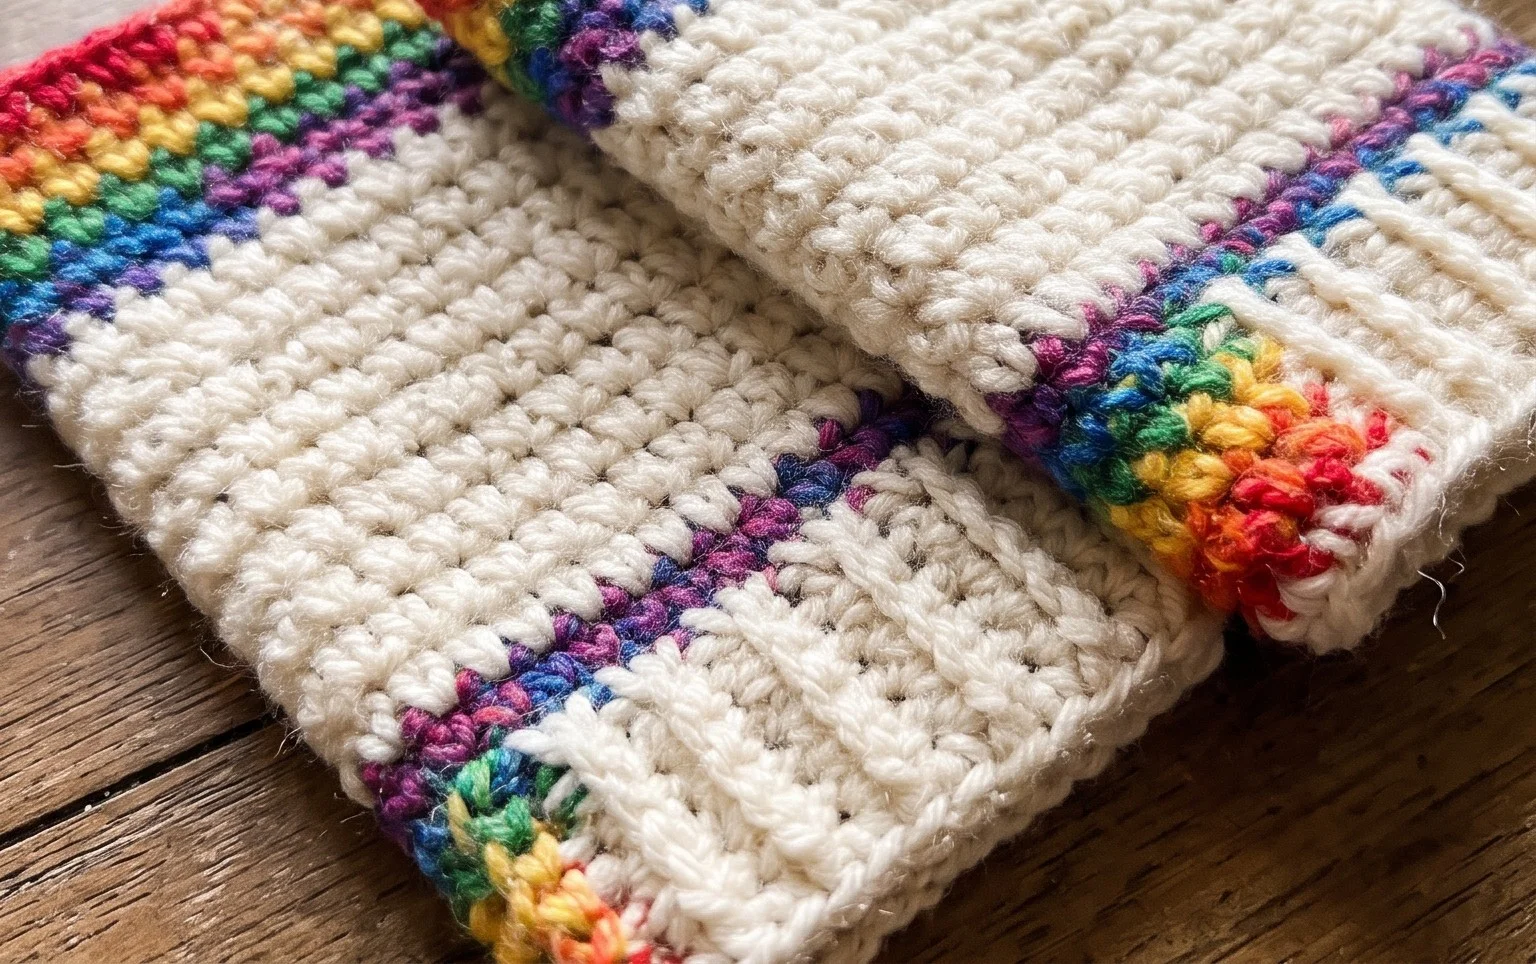
Once the final seam is finished, you’ll have a soft, textured pair that keeps your wrists warm while leaving your fingers free for daily tasks. For a simple variation, use a different color for each warmer or choose a yarn shade that matches a favorite coat. Take a photo of your finished pair and share it on Pinterest or your social media page; a close-up of the ribbing shows off the texture especially well. If you enjoyed this project, explore more free crochet patterns on the blog for wearable accessories and practical makes to keep your hook busy.