Crochet Zig Zag Puff Stitch Tutorial: Easy Free Pattern
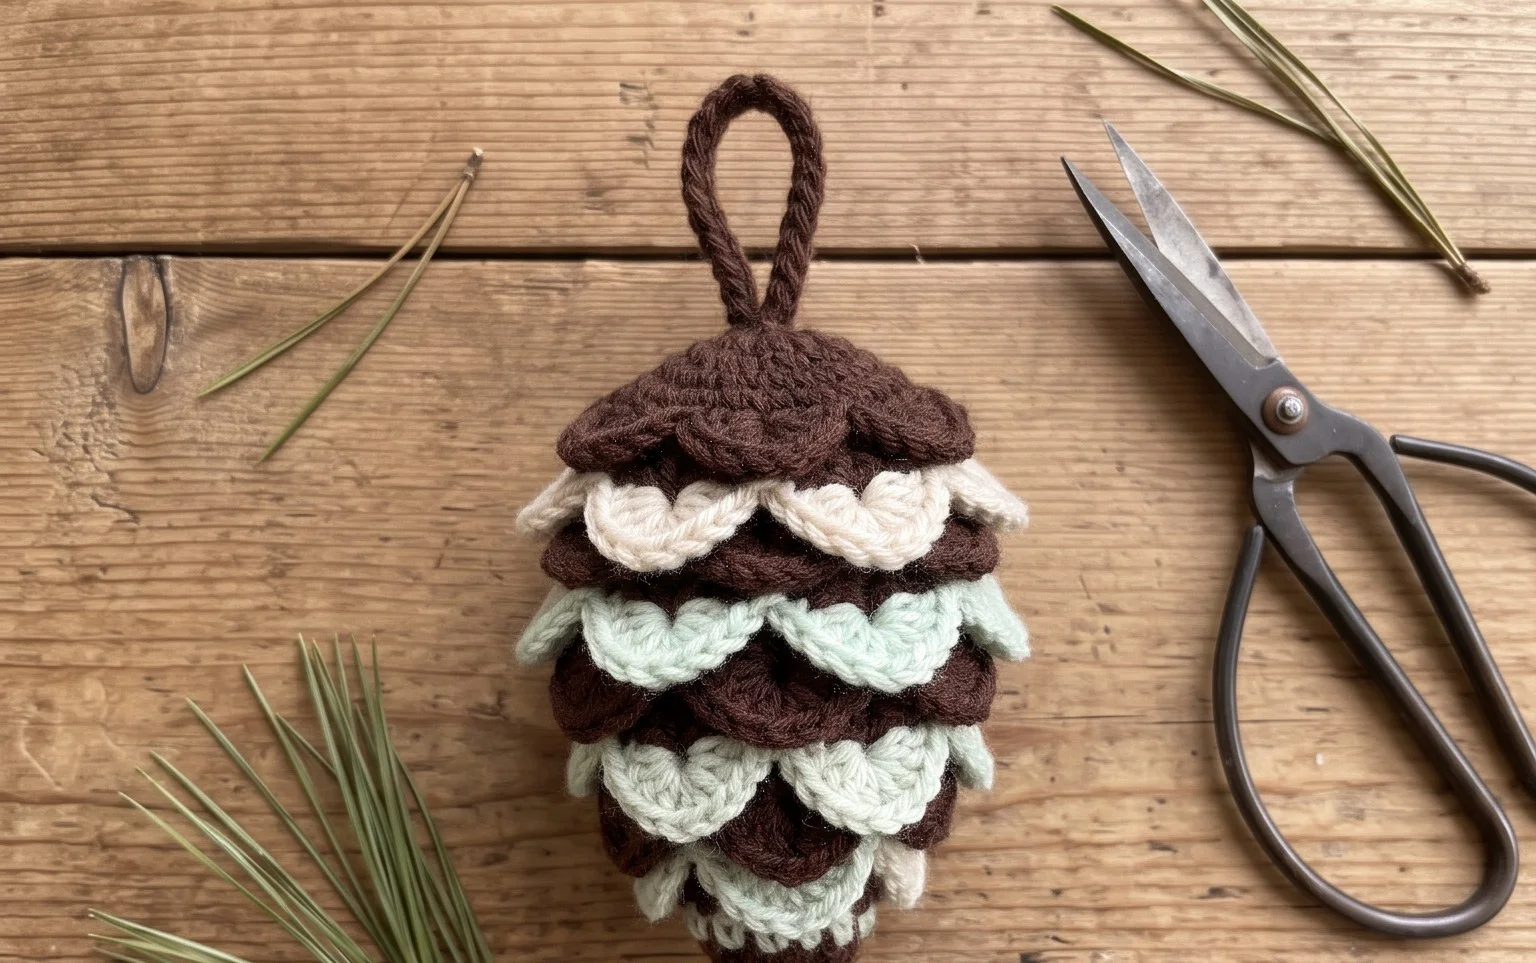
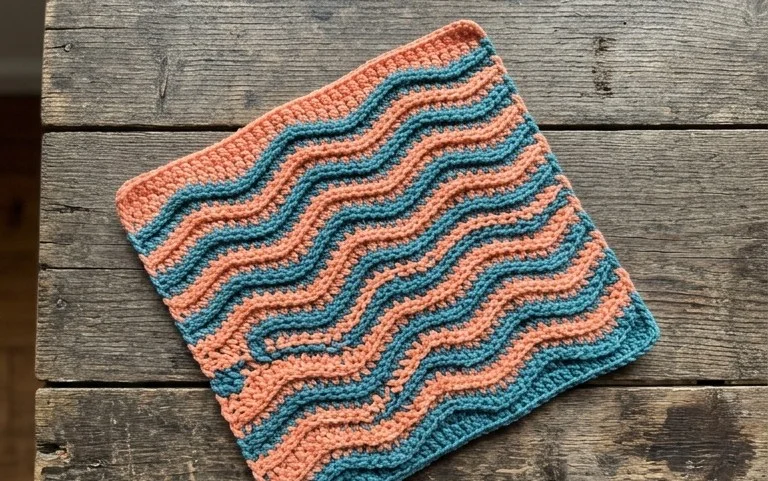
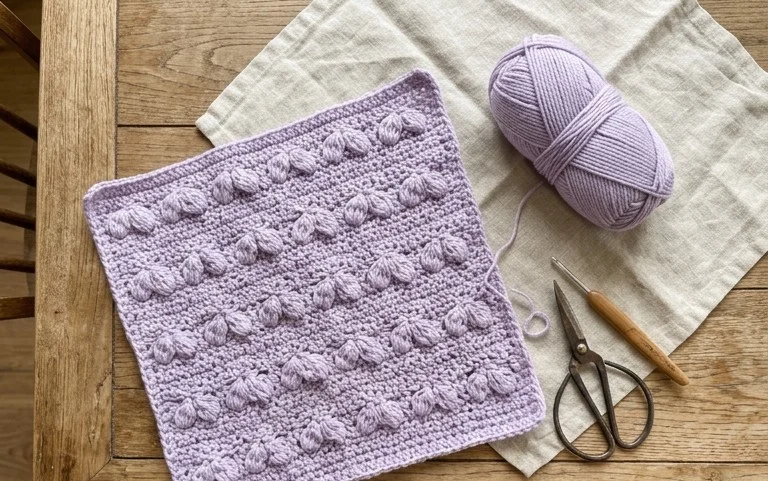
The finished piece has a distinct geometric rhythm created by the stacked texture of the yarn, resulting in a firm fabric that feels pleasantly bumpy and substantial in your hand. Beginners often find this project deeply rewarding because it builds confidence without needing advanced shaping skills or complex color changes. Home decor enthusiasts will appreciate how the raised rows catch the light, turning a simple ball of cotton into a decorative accent for shelves or desks. This guide shows you how to create the stitch pattern from scratch using basic loops, ensuring your work stays neat and consistent throughout.
Why Crocheters Love It
This beginner-friendly project works up in under two hours, making it an ideal choice for last-minute handmade gifts. The pattern relies on basic stitches and continuous rounds, which prevents visible seams and creates a smooth, professional finish. Because it requires less than one skein of yarn, it serves as a functional way to use up leftover bits from larger blankets or garment projects. The texture is dense enough to hold its shape while remaining soft to the touch.
I finished this in a single afternoon while watching a movie. The instructions are very clear for a beginner, and it turned out exactly like the photos provided.
— Sarah, hobbyist crafter
Pattern Overview & Skill Level
- Skill Level: Beginner
- Approximate Time: 1.5 to 2 hours
- Construction: Amigurumi-style continuous rounds worked in a spiral
- Finished Dimensions: 4 inches tall by 3 inches wide
Materials & Supplies Needed
- Yarn: Worsted weight (#4), 100% cotton, approximately 40 yards. Cotton fiber provides the necessary stiffness for 3D shapes.
- Hook Size: 4.0 mm / G-6. This size creates a tight tension, preventing the stuffing from showing through the stitches.
- Notions: Tapestry needle for weaving in ends, a locking stitch marker to track the start of rounds, and polyester fiberfill for stuffing.
- Safe yarn substitutions: Acrylic yarn is a suitable alternative to cotton. It will result in a slightly squishier, softer texture but will maintain the dimensions if worked at the same gauge.
Stitch Guide & Abbreviations (US Terms)
- MR: Magic ring (or adjustable loop)
- ch: Chain stitch
- sc: Single crochet
- inc: Increase (work 2 sc in the same stitch)
- dec: Invisible decrease (insert hook into the front loop of the next two stitches, yarn over, pull through both, yarn over, pull through remaining two loops)
- sl st: Slip stitch
- st/sts: Stitch/stitches
Step-by-Step Pattern Instructions
Body
- Rnd 1: Work 6 sc into a magic ring (6 sts)
- Rnd 2: Inc in each st around (12 sts)
- Rnd 3: [Sc in next st, inc in next st] 6 times (18 sts)
- Rnd 4: [Sc in next 2 sts, inc in next st] 6 times (24 sts)
- Rnds 5-10: Sc in each st around (24 sts)
- Rnd 11: [Sc in next 2 sts, dec in next 2 sts] 6 times (18 sts)
- Rnd 12: [Sc in next st, dec in next 2 sts] 6 times (12 sts)
- Add fiberfill stuffing firmly until the desired shape is achieved.
- Rnd 13: Dec 6 times around (6 sts)
- Fasten off, leaving a long yarn tail. Use the tapestry needle to weave the yarn through the front loops of the remaining 6 stitches and pull tight to close the hole securely.
Care & Washing Instructions
- Hand wash in cool water using a mild wool-safe detergent to preserve the shape and fiber integrity.
- Do not wring the piece; instead, roll it in a clean towel to absorb excess moisture.
- Lay flat on a dry towel in a ventilated area to air dry, ensuring it is reshaped while damp.
Pro Tips & Common Mistakes to Avoid
Maintain a consistent tension throughout the project to ensure the stitches remain tight. If your hands cramp, take a short break to relax your grip, as tight tension is essential for keeping stuffing contained within an amigurumi piece. Always use a locking stitch marker at the very first stitch of every round. Without this, it is easy to lose count of rounds and end up with an asymmetrical final shape. If you want to change the size of the finished item, you can use a smaller or larger yarn weight with a corresponding hook size. Keep in mind that moving up to a chunky weight yarn will require significantly more yardage and result in a much larger finished object.
Frequently Asked Questions
Can I use a different yarn weight for this project?
Yes, you can use any yarn weight, but you must adjust your hook size to ensure the fabric remains tight enough that the stuffing does not poke through the gaps. Using a finer yarn will make the piece smaller, while a thicker yarn will make it larger.
Is this project suitable for someone who has never held a crochet hook?
This pattern is designed for beginners, but it assumes you understand how to hold the yarn and hook. Practice the single crochet stitch and the magic ring method before starting to ensure a smooth experience.
How do I know how much fiberfill to use?
Stuff the piece until it feels firm and holds its shape without the fabric stretching enough to reveal the stuffing inside. Avoid over-stuffing, which can cause the stitches to gap open.
Am I allowed to sell items made from this pattern?
You are welcome to sell finished items created from this pattern. Please credit the pattern designer in your product descriptions, but do not sell or redistribute the written instructions themselves.
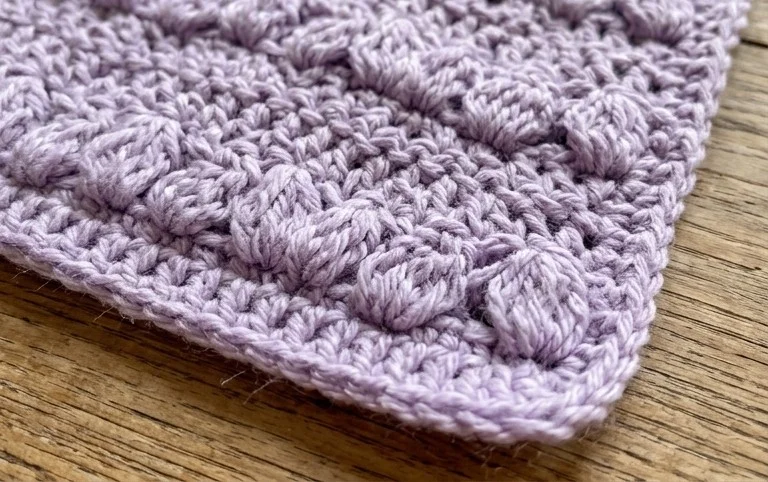
Your new crochet piece has a lovely weight and a professional look that makes it a great addition to any gift basket or desk setup. You can swap the cotton yarn for a soft wool blend if you prefer a squishier, warmer version of this texture for colder months. Sharing a photo of your finished work online helps others find inspiration for their own yarn stash projects. Feel free to browse through the rest of the blog for more accessible patterns that help you build your collection of handmade items this season.