Easy Crochet Drawstring Pouch: Free Beginner Pattern
Cotton yarn worked into a tight, dense fabric creates a small pouch that keeps your tiny treasures from slipping through the gaps. This simple drawstring design is a satisfying project for beginners who want a functional result in just a couple of hours. You will use basic single crochet stitches worked in a continuous round, which eliminates bulky seams and creates a clean look for the base. Whether you need a home for loose stitch markers or a small gift bag for a friend, this pattern uses minimal yarn and provides a solid finish. You will learn how to transition from the base into the body and finish with a decorative mesh row for your cord.
Why You’ll Love This Pattern
This simple crochet drawstring pouch uses a classic bottom-up construction that makes it an ideal project for using up small amounts of leftover yarn. The dense single crochet fabric provides a sturdy structure that keeps small items secure, while the adjustable drawstring closure ensures nothing slips out of the bag. Because it relies on basic stitches, you can finish this project in a single afternoon. It serves as a practical solution for organizing stitch markers, loose coins, or small crystals.
I finished this pouch in under two hours using scrap cotton. The instructions were easy to follow and the drawstring mechanism works perfectly without bunching up.
— Sarah, hobbyist crocheter
Pattern Overview & Skill Level
- Skill Level: Beginner
- Approximate Time: 1.5 to 2 hours
- Construction: Worked in continuous rounds from the base up, finishing with a mesh row for the drawstring
- Finished Dimensions: 4 inches wide by 5 inches tall when lying flat
Materials & Supplies Needed
- Yarn: Worsted weight (#4) cotton yarn, approximately 60 yards. Cotton provides the best structure for small pouches.
- Hook Size: 4.0 mm (US G-6). This size produces a tight fabric that prevents items from poking through.
- Notions: Tapestry needle for weaving in ends, a locking stitch marker to track the start of rounds, and a length of cord or twine for the drawstring.
- Yarn substitutions: Acrylic yarn is a soft alternative, though the pouch will be less structured and more prone to stretching over time.
Stitch Guide & Abbreviations (US Terms)
- ch: chain
- st: stitch
- sc: single crochet
- inc: 2 sc in the same stitch
- sl st: slip stitch
- yo: yarn over
- dc: double crochet
- sk: skip
- MR: magic ring
Step-by-Step Pattern Instructions
Pouch Base and Body
- Rnd 1: Start with a MR, work 6 sc into the ring. (6 sts)
- Rnd 2: Work 2 sc in each st around. (12 sts)
- Rnd 3: [1 sc, inc] repeat 6 times around. (18 sts)
- Rnd 4: [2 sc, inc] repeat 6 times around. (24 sts)
- Rnd 5: [3 sc, inc] repeat 6 times around. (30 sts)
- Rnd 6: [4 sc, inc] repeat 6 times around. (36 sts)
- Rnd 7-20: Work 1 sc in each st around. (36 sts)
Drawstring Mesh and Finishing
- Rnd 21: Ch 3 (counts as dc), sk 1 st, 1 dc in next st. Repeat [ch 1, sk 1 st, 1 dc in next st] until you reach the end of the round. Join with a sl st to the 2nd ch of the starting chain. (36 sts including chains)
- Rnd 22: 1 sc in each dc and each ch-1 space around. Join with a sl st to the first sc. (36 sts)
- Finishing: Fasten off, leaving a 6-inch tail. Weave the end into the interior of the pouch to secure it. Thread your chosen cord through the mesh holes created in Rnd 21.
Care & Washing Instructions
- Hand wash in cool water using a mild detergent to prevent the cotton fibers from breaking down.
- Lay the pouch flat on a clean towel and reshape it while damp to ensure the circular base remains even.
- Do not tumble dry, as high heat may shrink the cotton and cause the pouch to lose its intended dimensions.
Pro Tips & Common Mistakes to Avoid
Maintain consistent tension throughout the body of the pouch to avoid gaps where the stuffing or small items might show through. If your stitches look loose, try dropping down half a hook size. Always move your stitch marker to the very first stitch of the new round to keep your count accurate; losing track of the round count is the most common reason for uneven sides. Finally, weaving your ends in by threading the needle through the back of the stitches in different directions ensures the tail will not work itself loose during regular use.
Frequently Asked Questions
Can I use a larger hook to make the bag bigger?
Using a larger hook will increase the size of the pouch but will create larger gaps between stitches. If you want a larger bag, it is better to add more increase rounds at the beginning and increase the number of plain rounds.
Is this pattern suitable for complete beginners?
Yes, the pattern uses only single crochet and basic increases. As long as you understand how to work in continuous rounds and keep track of your stitch markers, you will find this project manageable.
Can I sell the finished items made from this pattern?
You are welcome to sell finished items you create using this pattern. I only ask that you credit the design to me when listing your items online.
How do I substitute the cotton yarn for wool?
You can use wool yarn, but be aware that wool has more stretch than cotton. The pouch will feel softer and will expand more when filled, so you may need to make the bag slightly smaller to achieve the same look.
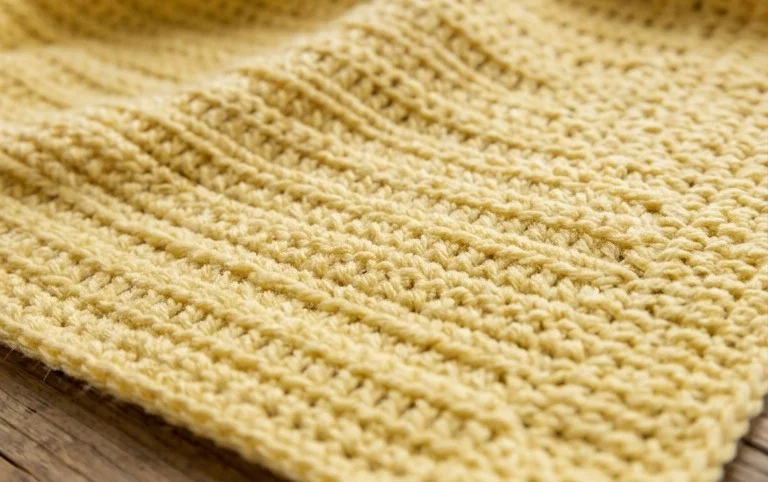
Your finished drawstring pouch provides a secure and portable home for all your small notions and loose items. You can easily adjust the size by increasing the starting circle diameter or try using a variegated yarn to give the pouch a different personality. Seeing your progress come to life in such a short amount of time is rewarding, so consider tagging your photos online so others can see your work. Feel free to browse through my archive for more free patterns to build your skills. Every project helps you practice your tension and stitch consistency while adding useful items to your collection.